We don’t tend to install Windows very often these days. It seems to be far more stable than the old days and it mostly just works. But from time to time we do need to install it fresh and there’s a list of things we need to do to make sure it’s in the best possible shape.
This article is mostly from a security point of view. But there’s plenty of overlap with just sensible steps to make sure your Windows install is ready for work and play.
Here’s my list of things to do post Windows 10 installation.
- Join it to the domain. This isn’t needed if you’re using it in a workgroup configuration or you simply have Windows 10 home and have no intention of adding it to a domain. But if you are using Windows 10 Pro or Enterprise, adding it to the domain is almost a given. You kind’a have to do it on install (easier this way). Just FYI, if you’ve got a 365 account with AAD (Azure Active Directory), it could be a nice way to manage your Windows computers in a single place. It comes with plenty of advantages and it’s free with your 365 service.
- Install Antivirus. For me, that’s BitDefender corporate. I install it first thing. My logic is that everything else that I do relies in some way on the Internet. Getting a good AV going is critical. Windows 10’s built-in AV is good. Just make sure it’s enabled and to date. I like BitDefender because it has specific modules for ransomware.
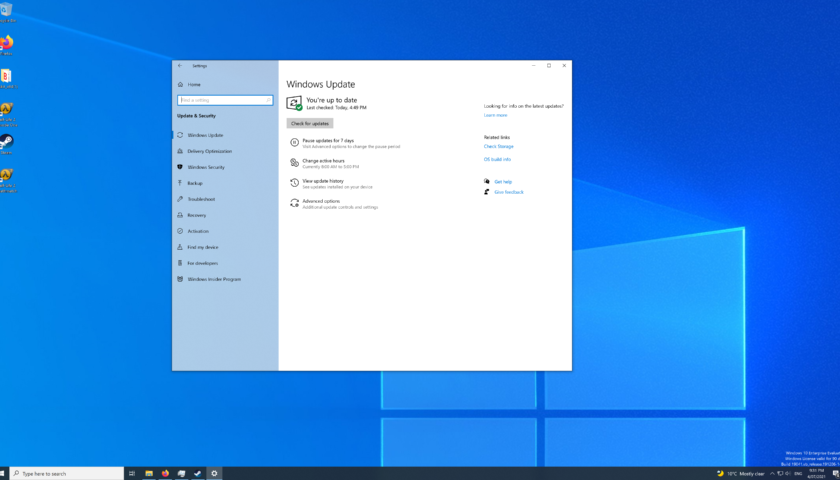
- Enable the Windows security features including BitLocker. Go to Systems, Security and install all pending updates, and toggle all security features on. They won’t get in your way. This process can take a little time because there are so many settings to check. But spending the time to do this now will save you all kinds of pain later on if you skip it. Your AV will do its part but you still need to make sure these settings are enabled. The Window security settings and AV work together to protect your computer and the information on it. Tip, if you have joined your computer to AAD, you can enable BitLocker and have the key stored in AAD allowing for easy recovery later if things go bad.
- Configure Windows backups. The lingo has changes. You’re really setting up File History (previous version, etc). I use a NAS for this but you could use a second hard disk. The reason I use a NAS is to help protect against physical damage to my computers, theft and ransomware attacks. My NAS has version control that’s outside the scope of ransomware. Go to Settings, Security, Backups. Enable automatic backups and go to the “More options” link. Go through the process and do the first backup. Tip, if you have joined your computer to a domain (including AAD), you might need to add credentials to your “Windows Credentials” manager in the control panel that work for your NAS assuming your NAS is not also on your domain. If you’re not using a NAS, it shouldn’t be a problem. For the record, I like Synology NAS’s.
- Install your favorite browser. For me, it’s Firefox. If you sign into that, you will get you browser settings applied automatically. This includes plugins that you rely on everyday. If you use LastPass or another Password Manager, it will be dealt with at this point too.
- Finally install your software and drivers. Office, games, VPN clients, whatever it is that you use every day. This step includes drivers and anything else your computer needs to run optimally.
I hope this has helped with your post install check list. Leave a comment below if you have other steps that you take in the post install phase.
