This article walks through the process of creating a self-hosted Docker Registry. We’re using Ubuntu but given that Docker is basically cross-platform (in a way), this should work on any Linux distribution.
You can host your Docker Registry on any host you like. When I refer to you “Docker Registry host”, I’m simply referring to the host that you designate as your registry host.
Install docker:
apt install docker.ip docker-composer
Enable and start the Docker server:
systemctl enable docker
systemctl restart docker
On any Docker host you have that will need to access this new Docker Registry, you will need to edit your “/etc/docker/daemon.json” file. Warning – editing this file will only take effect after a Docker restart.
{
        "insecure-registry": ["agix-registry.local:5000"]
}
TIP: Where “agix-registry.local” is the FQDN of the Docker Registry host. And the target port is “5000”.
Back to our Docker Registry host. Create a new directory (perhaps in your home directory) called “agix-registry” or whatever you want to call it. The name isn’t important. Once created, enter that directory. For example:
mkdir ~/agix-registry
cd ~/agix-registry
Create a new docker-compose file called “docker-compose.yml” and populate it with the following. It’s important that you change any reference to “agix-registry” to whatever you called yours:
---
version: '3'

services:
    docker-registry:
        image: registry:2
        container_name: agix-registry
        ports:
            - 5000:5000
        restart: always
        volumes:
            - ./volume/lib/registry

    docker-registry-ui:
        image: konradkleine/docker-registry-frontend:v2
        container_name: agix-registry-ui
        ports:
            - 8081:80
        environment:
            ENV_DOCKER_REGISTRY_HOST: agix-registry
            ENV_DOCKER_REGISTRY_PORT: 5000
TIP: Spaces matter. I haven’t used tabs, I’ve used spaces only. 4 spaces at a time.
As you can see, we’re create a new image with two services. The first service is the registry its self, and the second is a web front-end to the registry. The front-end isn’t critical but does help us visualize what’s in our registry which is super helpful over time.
Run the following command to bring-up your new Docker Registry:
docker-compose -f docker-compose.yml up -d
You should now have a new Docker Registry and Docker Registry UI interface (the web interface) running. Confirm it:
[email protected]:~/andrew/docker-registry# docker container ls
CONTAINER ID   IMAGE                                      COMMAND                  CREATED          STATUS          PORTS                                            NAMES
2d62da1108ba   registry:2                                 "/entrypoint.sh /etc…"   53 minutes ago   Up 45 minutes   0.0.0.0:5000->5000/tcp, :::5000->5000/tcp        agix-registry
0c4d9675f5c4   konradkleine/docker-registry-frontend:v2   "/bin/sh -c $START_S…"   53 minutes ago   Up 43 minutes   443/tcp, 0.0.0.0:8081->80/tcp, :::8081->80/tcp   agix-registry-ui
Make sure the Docker Registry host permits ports tcp/8081 and tc/5000. Reminder, we’re using Ubuntu. If you’re firewall is not enabled, the following will error, but that error isn’t critical.
ufw allow port 8081
ufw allow port 5000
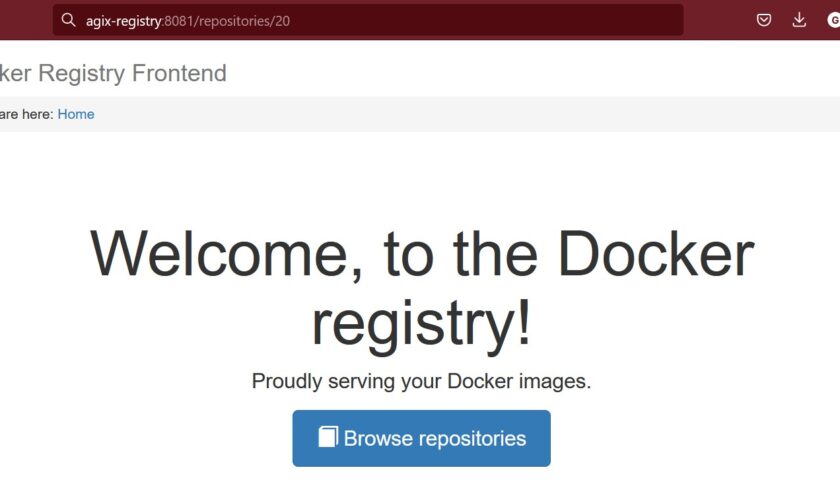
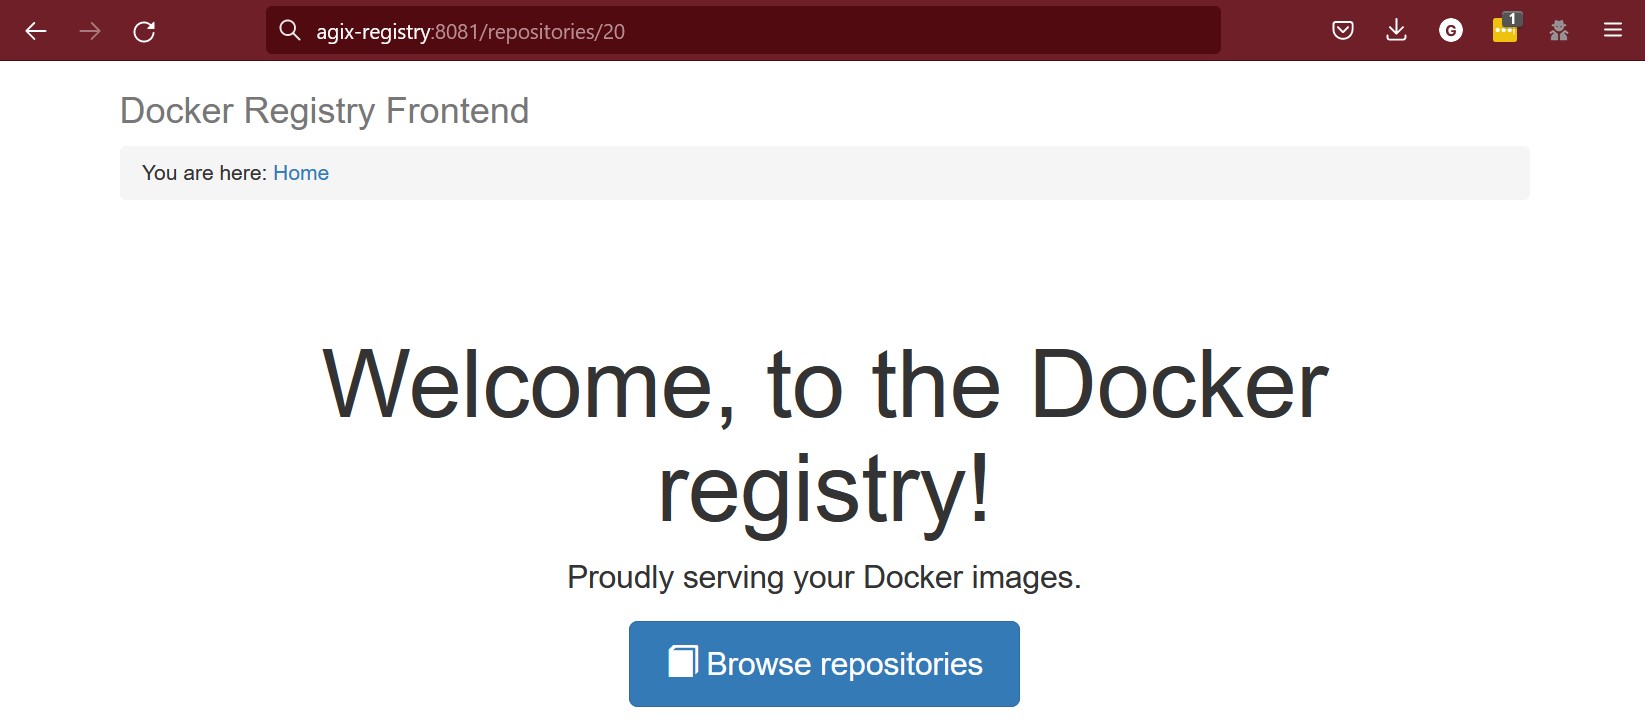
Time to confirm this from another host. From any other computer with a web browser, visit the following URL.
http://agix-registry:8081
It’s time to test our new Docker Registry. Start by pulling down a Docker image from the public Docker registry.
docker pull nginx
Confirm we’ve downloaded it:
docker images
Push our new “nginx” image to our new Docker Registry host. But first, change the following example to meet your needs. The following command has these components:
docker push = push the image to the target Docker Registry.
agix-registry.local:5000 = the target Docker Registry (our new one) which is listening on port 5000.
/andrew = the username we're wanting the Docker Registry to store our new image under. This is arbitrary. Each "dev-ops" person should have their own.
/agix-nginx = the image name that we're wanting the new image to be stored as on the new Docker Registry host.
v1 = the version number. We can increment this as we update it over time.
My push command looks like this:
docker push agix-registry.local:5000/andrew/agix-nginx:v1
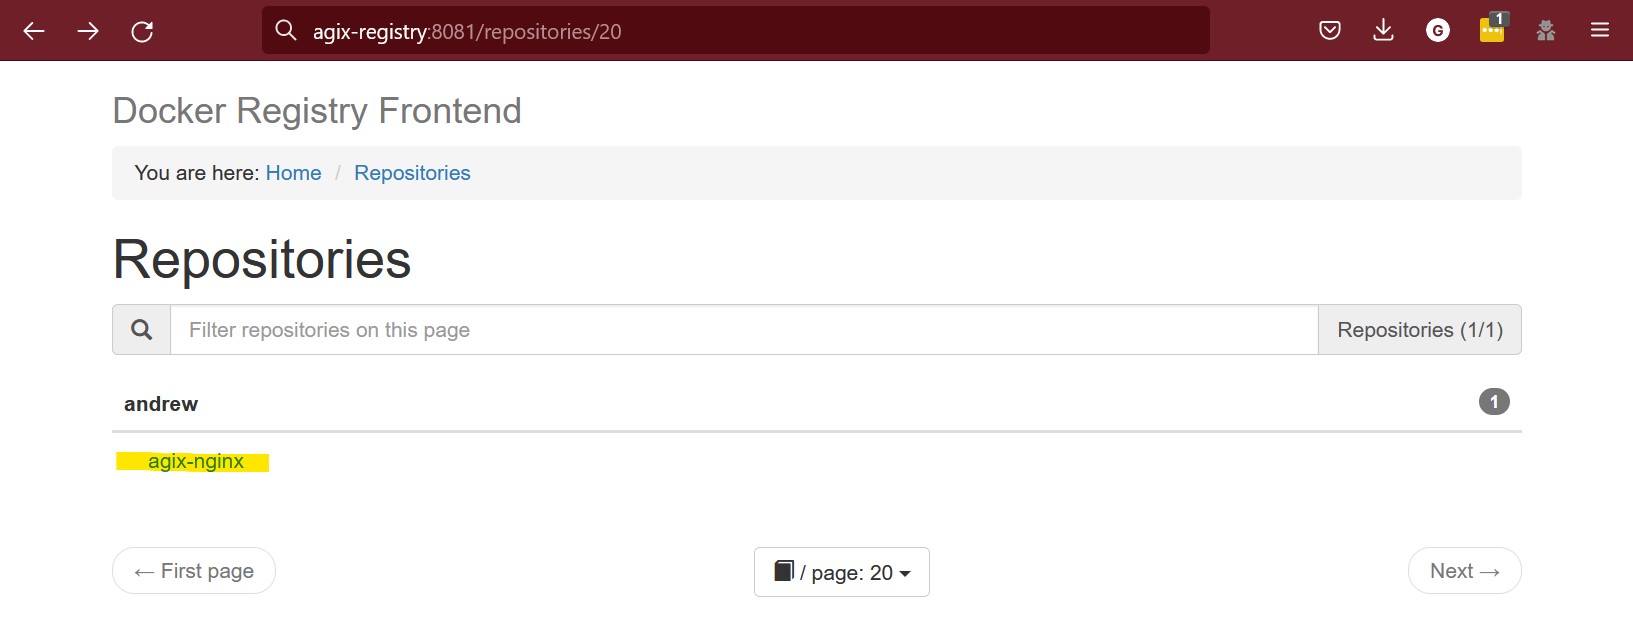
Now go to the new Docker Registry and confirm our new image is there.
The last step is to confirm we can pull images from our new Docker Registry. To do this, we first need to remove the image from our Docker workstation (not the Docker Registry). We’re removing it so we can pull it free from our new registry.
docker images
docker rmi nginx
docker images
Visit our new Docker Reigstry web interface, navigate to our new image, select the version, and finally copy the “docker pull” command:

In my example, the command will be:
docker pull agix-registry:5000/andrew/agix-nginx:v1
TIP: If you get an error like “Error response from daemon: Get https://agix-registry:5000/v2/: dial tcp: lookup agix-registry: Temporary failure in name resolution”, check your DNS/host resolution. That’s most likely the issue.
Assuming it worked, you should have your image local – pulled from your new Docker Registry host.
[email protected]:~/docker/docker-registry# docker images
REPOSITORY                                   TAG       IMAGE ID       CREATED       SIZE
agix-registry.local:5000/andrew/agix-nginx   v1        76c69feac34e   11 days ago   142MB
registry                                     2         dcb3d42c1744   4 weeks ago   24.1MB
konradkleine/docker-registry-frontend        v2        60d4b91e68fa   5 years ago   266MB
References:
– https://www.youtube.com/watch?v=8gEs_zefNYA
– plenty of trial and error
