This article explains how to install OpenVAS on CentOS 7. My earlier attempts to document the installation process of OpenVAS on CentOS 6 failed. OpenVAS is an alternative to (and a fork of) the very popular Nessus. It’s a very capable vulnerability scanner. I hope to write other articles on the use of OpenVAS soon.
Sunday 21st April 2019: OpenVAS has recently gone through a significant change with “openvas-9.0.3-6767.el7.art.noarch is obsoleted by greenbone-vulnerability-manager-10.0.0-6947.el7.art.noarch”. This HowTo is likely not correct any longer. I will try to modify it to meet the new changes.
A few prerequisites:
- Disable SELinux.
- Permit TCP port 9392, 443 and 80.
Run this command. It’s downloading a script and executing it:
wget -q -O - https://updates.atomicorp.com/installers/atomic | sudo sh
Clear YUM:
yum clean all
Tune Redis by adding the following to your “/etc/rc.local”. Otherwise, just make sure this is executed before Redis starts.
echo 512 > /proc/sys/net/core/somaxconn
echo never > /sys/kernel/mm/transparent_hugepage/enabled
Install OpenVAS from YUM:
yum install openvas atomic-sqlite-sqlite sshpass
Run the setup process and follow the prompts. This takes a few hours due to all the downloads it needs:
openvas-setup
You can set a new Admin password at any time later for the web portal:
openvasmd --user=admin --new-password=MySecretPassword
Set the NVT signature checking in “/etc/openvas/openvassd.conf”. The following is set to ‘yes’ by default. Change it to no:
nasl_no_signature_check = no
Restart the services:
systemctl enable redis
systemctl enable gsad
systemctl enable gvmd
systemctl enable openvas-manager
systemctl enable openvas-scanner

systemctl restart redis
systemctl restart gsad
systemctl restart gvmd
systemctl restart openvas-manager
systemctl restart openvas-scanner
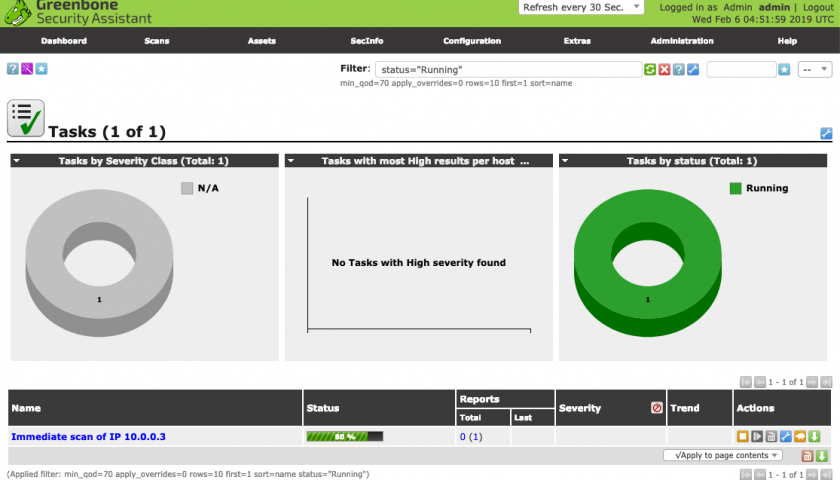
Open your web browser and navigate to the following address and login with the username and password you’ve previously set:
"https://localhost:9392" or "https://localhost"
Table of Contents
Further random notes
The following are my notes and attempts to resolve minor issues.
Schedule updates
It’s important to keep OpenVAS up to date. Schedule the following command(s):
greenbone-nvt-sync ; openvasmd --rebuild
Trouble exporting reports in PDF format
For assistance with PDF reports can be found in this thread “lists.wald.intevation.org/pipermail/openvas-discuss/2014-October/006939.htmlOID: 1.3.6.1.4.1.25623.1.0.108013”. I was not successful in my en-devour to resolve this matter. I’d say it’s more to do with CentOS rather than OpenVAS.

atomic has conflicts within their packages:
Total 6.1 MB/s | 8.4 MB 00:00:01
Running transaction check
Running transaction test
Transaction check error:
file /usr/bin/openvas-nasl conflicts between attempted installs of openvas-scanner-6.0.0-6872.el7.art.x86_64 and openvas-libraries-9.0.3-6672.el7.art.x86_64
file /usr/bin/openvas-nasl-lint conflicts between attempted installs of openvas-scanner-6.0.0-6872.el7.art.x86_64 and openvas-libraries-9.0.3-6672.el7.art.x86_64
file /usr/lib64/libopenvas_misc.so conflicts between attempted installs of openvas-scanner-6.0.0-6872.el7.art.x86_64 and openvas-libraries-9.0.3-6672.el7.art.x86_64
file /usr/lib64/libopenvas_nasl.so conflicts between attempted installs of openvas-scanner-6.0.0-6872.el7.art.x86_64 and openvas-libraries-9.0.3-6672.el7.art.x86_64
file /usr/share/man/man1/openvas-nasl.1.gz conflicts between attempted installs of openvas-scanner-6.0.0-6872.el7.art.x86_64 and openvas-libraries-9.0.3-6672.el7.art.x86_64
Who cares? RTFM!
I will update this article soon as i determine the changes. I have made some modifications to this article. But i need time to get through the manual 🙂
Hi guys,
As for today Apr-20-2020
After the installation, I’m unable to start openvas-scanner.service
“systemctl status openvas-scanner” – shows:
Unit openvas-scanner.service entered failed state
Solved with configuring “/etc/redis.conft” with:
unixsocket /var/run/redis/redis.sock
and
“/etc/openvas/openvassd.conf” with:
kb_location=/var/run/redis/redis.sock
db_address=/var/run/redis/redis.sock
also I reverte back to:
nasl_no_signature_check = yes
Currently, all the services are running, however, after running “greenbone-nvt-sync ; openvasmd –rebuild” I get an error: “-bash: openvasmd: command not found”
Hey Max,
The commands have (and seem to) changed. Just run “green” and hit TAB or “openv” and hit TAB. You’ll see the commands available to you.
AG