NX is an alternative to VNC allowing management of a remote system. NX is opensource (there’s a commercial version), supports encryption, and can be installed on Linux, Windows, and MacOS. This tutorial shows how to install NX on a Ubuntu server, and NX on a Windows 11 client. We’ll then be able to control the Ubuntu server using the Gnome GUI from a Windows 11 client.
Note: Regarding security, the following page states that both the commercial and free versions of NoMachine (NX) support encryption “https://www.nomachine.com/remote-access-for-everyone”.
On the Ubuntu server, download the Debian package from the following link:
https://www.nomachine.com/download/linux&id=1
The above page shows a few links to different distribution packages. For me, the file was “https://download.nomachine.com/download/7.10/Linux/nomachine_7.10.1_1_amd64.deb”.
While you’re there, you might as well download the Windows NX client:
https://www.nomachine.com/download/download&id=8
The MacOS version can be downloaded from here “https://www.nomachine.com/download/download&id=7”.
Now install the package:
dpkg -i nomachine_7.10.1_1_amd64.deb
Enable and start the NX service:
systemctl enable nxserver
systemctl start nxserver
Open the firewall:
ufw allow 4000
(Optional) Create a new user account to test the connection with:
useradd -m someuser
passwd someuser
Install the Windows (or MacOS) client and see if you can connect.
The remainder of this article are the screenshots from the Windows client as we connect to the new NX server.
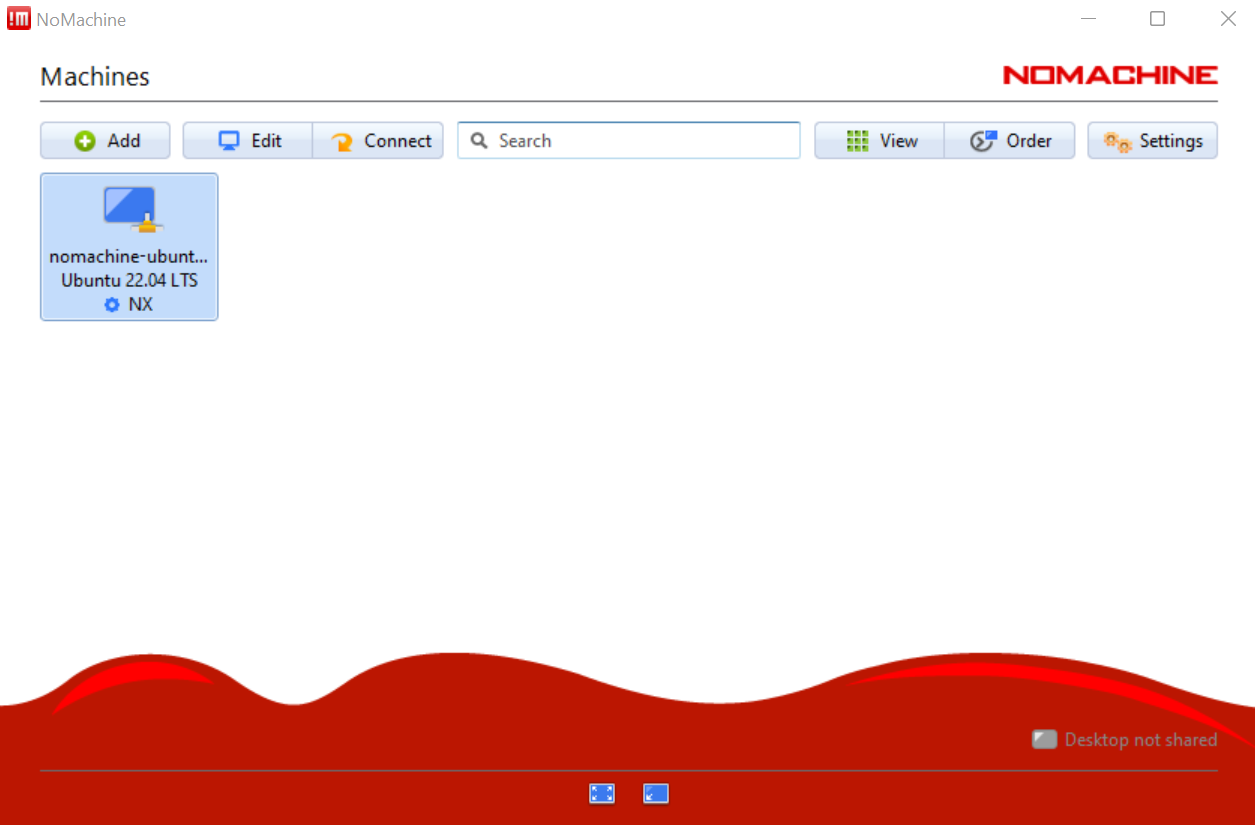
The first screen lists the new Ubuntu server. It found this by its self. While I can “add” a machine, the client is smart enough to scan for it. This probably only works if the two (client and server) are on the same network segment.
Note: I’ve skipped the page where you’re asked for credentials. No reason, I just forgot.
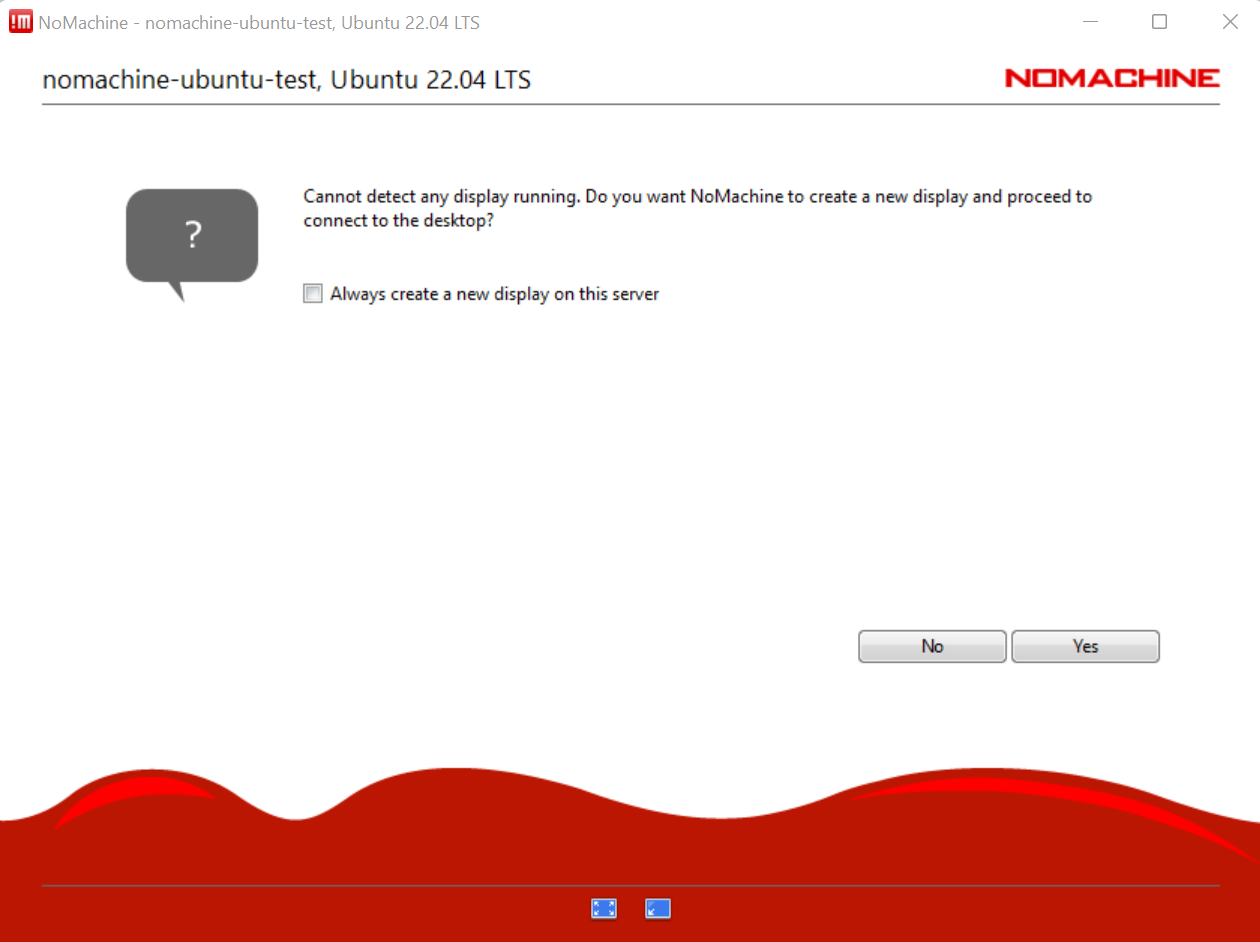
Double click on the machine (above) and the new connection will begin. You’re asked to confirm some details, read the messages and proceed. I clicked “Yes” to the following question.
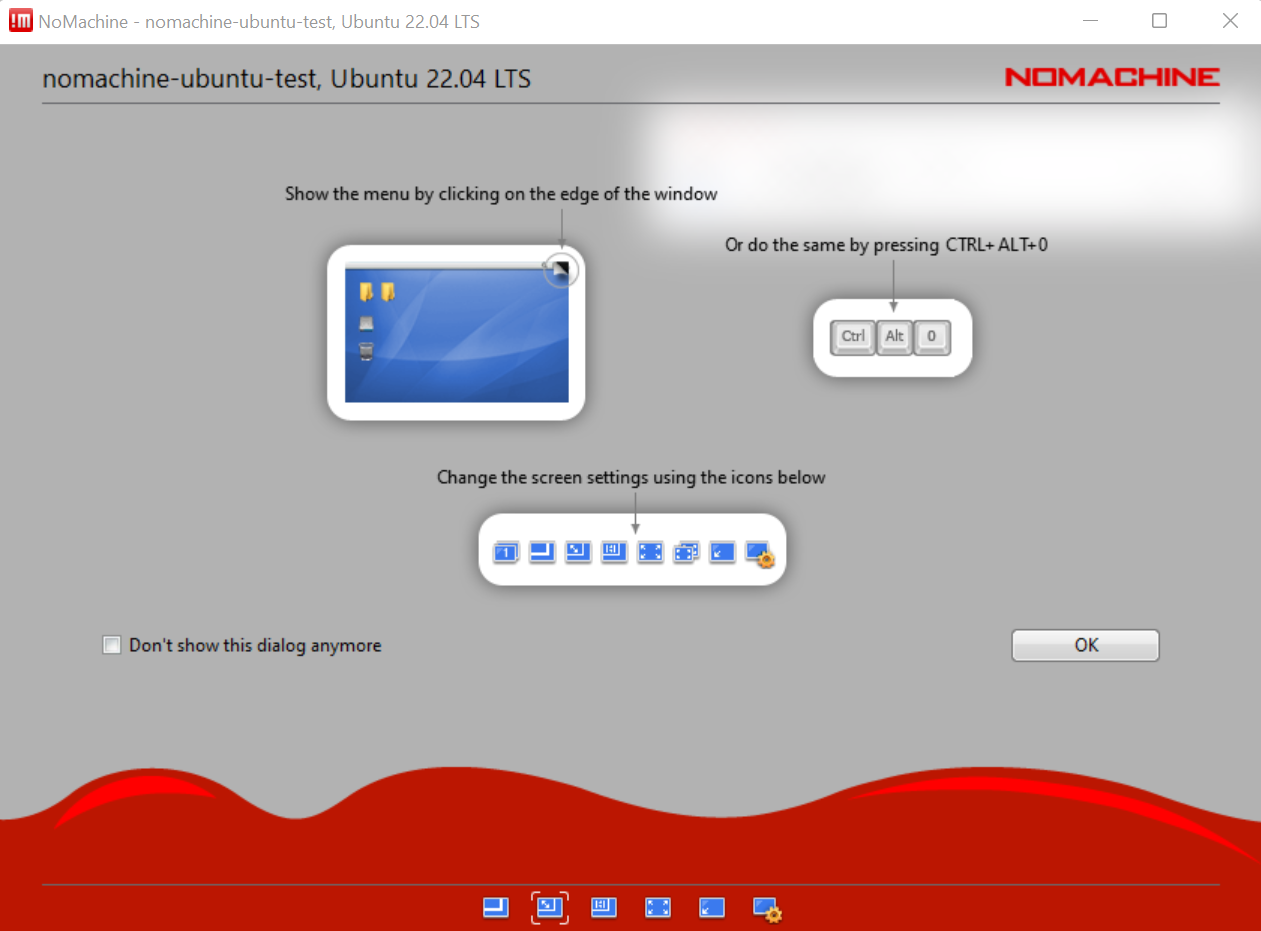
It will take you through a few informational pages. I’d check the “Don’t show…” check-box and proceed.
You will see the expected Ubuntu desktop. In the screenshot below, you can see this is the first time someone has logged in as this user, our new user.
The first thing you’ll notice is that the screen resolution is 800×600. You can change this on the Ubuntu system as normal (right click the background and select Desktop Settings) to adjust it to your liking. Don’t stretch the window as it will take it our of scale.
